I did a search for the bags and found them on Catalina Direct's site. They are selling it for $181. It is a double pocket bag for both port and starboard side.
halyard-bags-c-310-c-320-grey-mesh-.cfm
I really want them but I am not going to spend that kind of money for bags! That is just ridiculous. So I did some searching for the materials and what it would cost for me to make them myself. They can't be that hard, right?
I found the fabric at Sailrite for $13.75 /yd (I bought 2 yards so I could do some other projects), the UV resistant thread needed to sew it together for $11.95, and the fasteners for about $2 .
Phifertex-Mesh-Grey-X11-54
Thread-V-69-Cadet-Grey-Polyester-UV-4oz-1-350-Yds
I absolutely love the way they turned out. I took pictures along the way so if you want you can make your own. I think they look just as good as the store bought for just under $30 to make both the port and starboard bags.
The open mesh weave allows them to breathe and drain out any water.
The first step was to make a pattern using some butcher paper that I had on hand. I had all of the measurements that I needed off of the description of the bags from Catalina Direct. Sized for the Catalina 310 and Catalina 320.
Dimensions:
Dimensions:
After that I cut all of the pieces out and separated them out starboard and port bags.
After all the pieces are cut out. The middle one is double layered. The back is one big piece and the front is cut in half.
For the back piece I folded down the top 1" and sewed it for a finished edge.
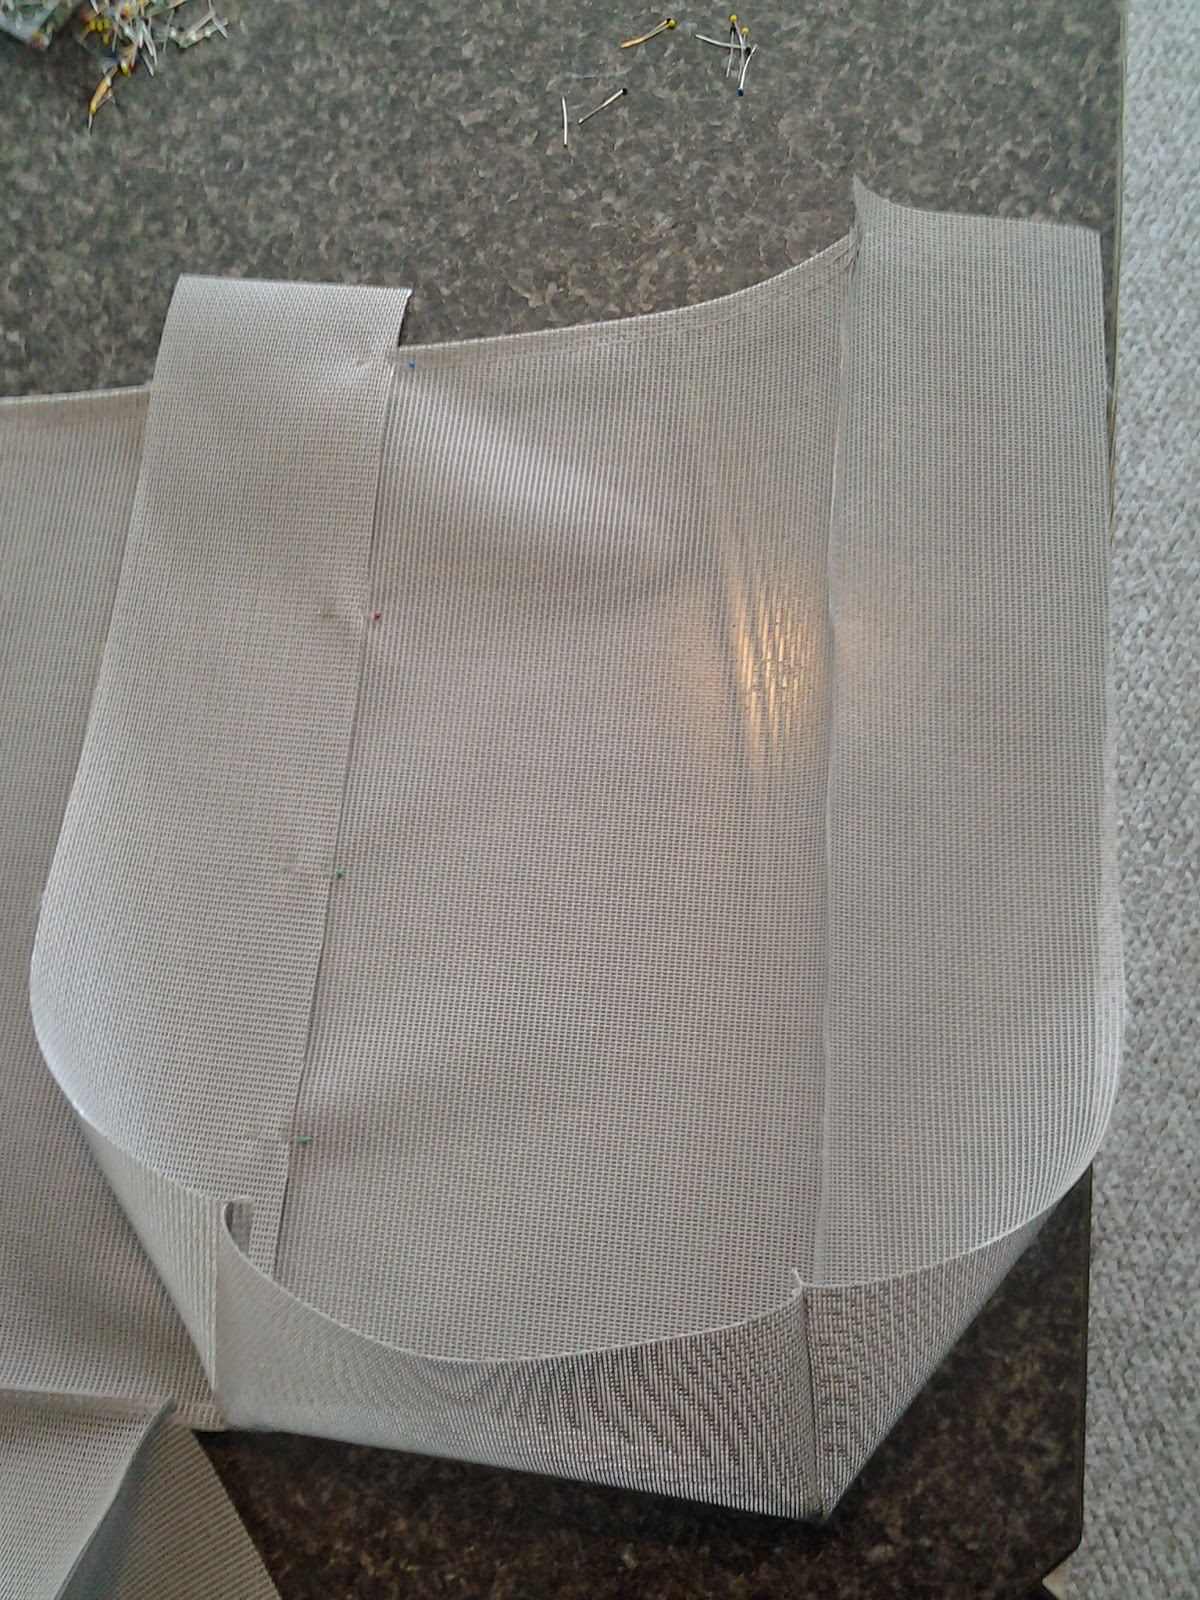
Then I sewed the bottom and side pieces to the back, not sewing the middle. Do this for both pockets. You should have two loose pieces of fabric in the middle that you have not sewn down. Now take out the pins and invert it so you see the right side instead of the stitching.
You will now sew the two middle pieces, pinning first. The fabric is nice because it is like a graph with the weave and you can pin it in a straight line. You will end up with a little less than an inch of space between the two pockets.
Now sew the fronts onto the pockets, starting with the outside and then the bottom.
When you are done, turn it right side out to see the finished pocket. Then do the same thing to the other pocket.
Now turn down the top edges inside the bag to line up with the top edge of the back and sew to finish the edges. You have now completed your bags.
If you make these, let me know how it worked out. If you need any more help than what I posted, let me know.
Happy sewing!
By the way, I did this all on my husbands old reliable Singer machine!


Awesomemess
ReplyDeletethanks you for the excellent breakdown and detail grandma wants to make them now she loves contributing to the boat and this is her way of helping, I am grateful to both her and you for enabling her
Matt
85 Cat 30 Apollo Beach
You are welcome Matt! I sure would love to see the finished project.
Delete