Sunday, March 23, 2014

DIY SUP bags

Recently we were able to purchase our brand new inflatable stand up paddleboards. We are super excited to get out onto the water and give these baby's a try. However March in Montana is just not a super great time for this since the lakes are still frozen over. This would make us look like a pro though beacuse there would be no balance issues and we most likely wouldn't fall off! LOL!

We are flying to Costa Rica at the end of April and our thoughts go immediately to paddle boarding in premium weather and water conditions. These boards weigh in at 35 lbs. with the paddle and pump included. We could easily check the boards onto our flight. All we need now is a bag to store them in that would be easy to carry along with our luggage. I came up with an idea that I think might just work.

I found some duck fabric on sale for $4.99/yd. ($10.99/yd. regularly). I drew out my plans and made a list of all of the accessories that I would need. I came up with these items. Remember these are purchased for making 2 bags. 2.75yd of the main fabric (blue here), .75 yd of a different color for your pocket (here I chose white for mine and black for his). 1.5yd of  2" webbing (again white for me and black for his), 1.75yd of 1" webbing (white for me and black for his) and 1" parachute snap buckle closures, 22" zippers (white for me and black for him), and a spool each of upholstery thread.


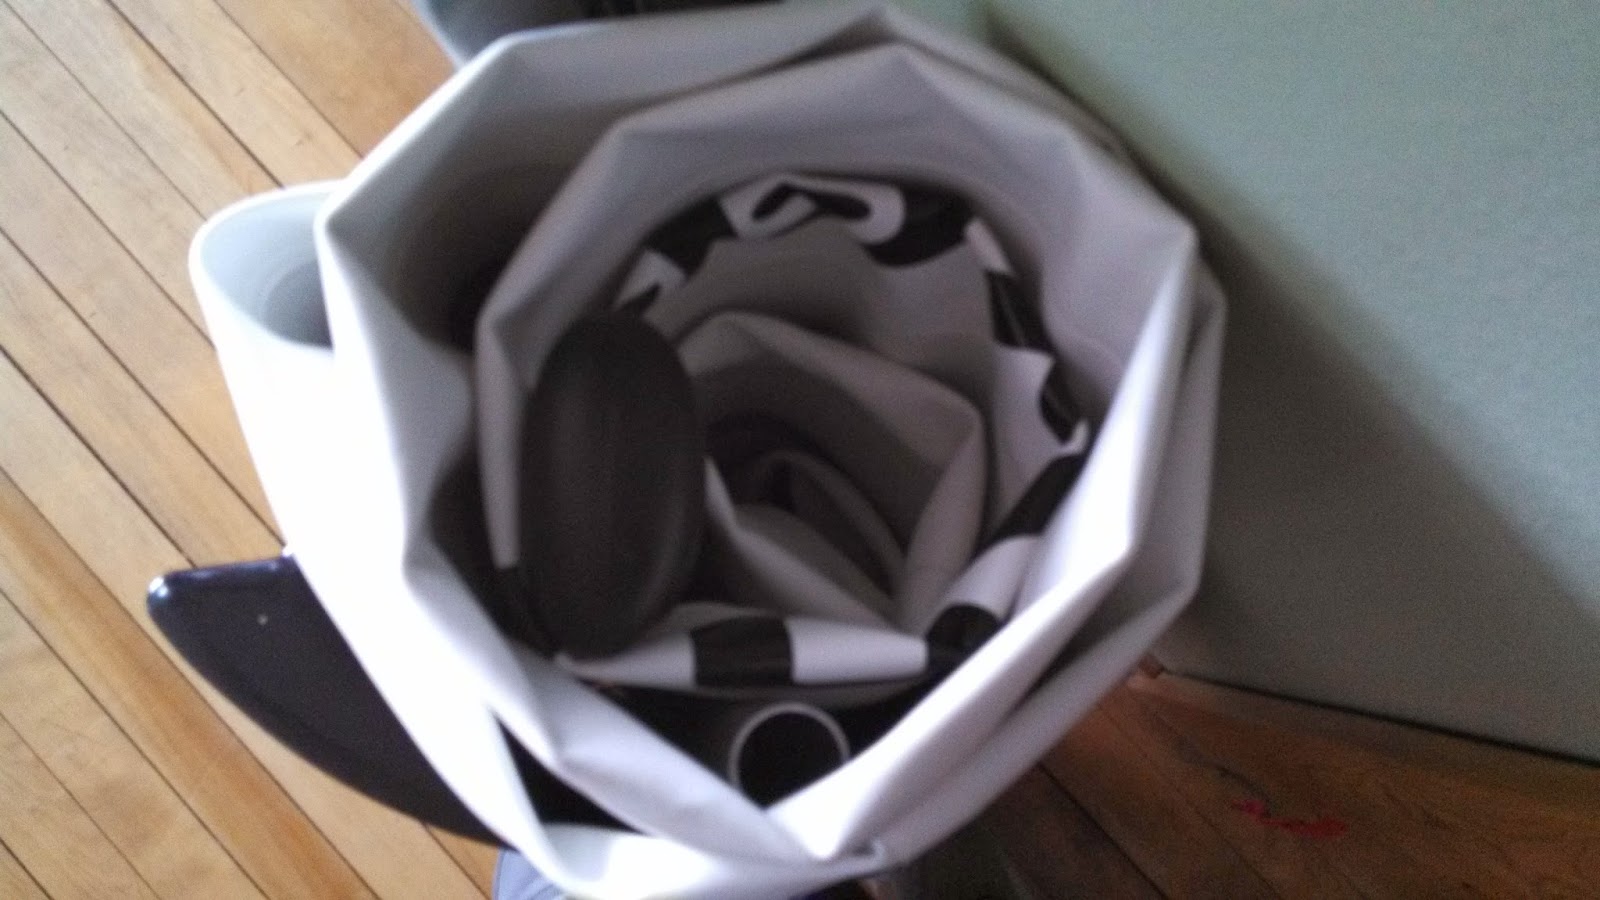
First I sewed the pocket that I want on the outside of the bag. It needs to be large enough to fit the pump into. I included the zipper for easy access. It is also large enough to throw in extra supplies like the hose to the pump, the patch kit and any other little items you may want to bring along. It has a rectangular top and bottom. Sew the pocket onto the blue fabric first before assembling the blue bag. You will tuck the edges under for a clean edge and sew an outside stich that shows. Measure the SUP rolled up, height and width and cut you fabric 12" taller for the dry bag type roll closure. Mine ended up being cut 47"h x 43" w. Then I cut an 11"x11" bottom.  After assembling and sewing the bottom onto the blue bag, sew only half way up the back seam of the length of the blue bag. The leapord print ribbon that you see in the picture of items to buy is the girly touch to add to my straps and pocket. I added the 2" webbing straps. 2 along the back so that it can be carried like a backpack. Use a box stitch so that it is secure. Now finish sewing up the the back seam of the blue bag. The 1" webbing will be sewn around the top edge, around the perimeter of the top of the bag with a clasp male on one end and the female on the other end. The bag is complete.


 This looks like the Cookie Monster! LOL!!

Sunday, March 16, 2014

I could use a paddling! Our new SUP

The newest craze on the water is stand up paddle boards. They are everywhere. People enjoying the water with a little exercise. Friends can get together and have a day full of fun and adventure. Even the dog can come along. I have also seen people doing yoga on their boards. That seems very peaceful to me. Exercising in the great outdoors. The calming waters and you getting your zen on. (Though it may not feel like zen the first couple of times when I lose my balance and fall into the freezing cold water!)

However, have you seen the prices of these boards? You have to take out a small loan to pay for one of these things. Then there is all of the accessories that go with it. There is the paddle, a high pressure pump, a leash, and a bag to carry it in. They are also huge. If you have a small car like mine, where are you going to put it to get it to the lake?

Then a friend did a post on Facebook. She had won her paddle board from Tower http://www.towerpaddleboards.com/ and loves it. It is an inflatable board. This changes the whole dynamic of things. I can roll it up when deflated and easily put it in the trunk of my small car. It could also get stored in the berth of the boat and blow it up whenever we get the urge to go out on the water. There is still the cost though. Most inflatable paddle boards are still about $1000. That is way over my budget!

Well, that same great friend was promoting her board for Tower. They were running a deal $100 off a board. And they were also on sale! $595 instead of $1100. This makes the board $495!

Well....the rest went very quickly. Mark and I now have 2 great new paddle boards!  We also got the pumps and the paddles courtesy of Tower. We are going to have so much fun with these. We are even thinking about the idea of bringing them on our flight to Costa Rica. The total package (board, paddle, and pump) weighs only 33 pounds and can fit into a carry on bag that you can check.

This weekend while shopping in Joann's Fabric they were having a sale on duck cloth at 60% off. I am now making 2 SUP bags. Don't you just love a sale! I will do another blog post on how to make a bag for an inflatable SUP.
 
I am looking forward to a paddling this summer!


This is the pressure guage on the top of the pump to ensure a rigid board.


This is the SUP with the paddle rolled up into it. The paddle breaks down into 2 pieces.


 9'6" inflatable board with extendable paddle.  The board has a handle in the middle for easy carrying.
You can also add rings onto the board to strap on whatever you need. Like maybe a cooler.


Here is the board all rolled up with the paddles inside for easy storage. The strap is included to keep it tight and secure.


It took me less that 5 minutes to pump the board up!