This whole things started when Molly and I were crafting in the living room. We had to start cleaning up all of our stuff around us because we had to have the space livable. Sure would be nice if we could leave all this here and keep working the next day. That's when we both decided we needed a craft room. Where could we put one? Rachel had moved out a couple of years ago and we moved some gym equipment in there but the room just didn't get used enough. We both decided thats what we would do. So I started searching the internet for types of rooms that we wanted. There sure are a lot of beautiful craft rooms out there. I finally ended up on Pinterest pinning bunch of different ideas that we liked. I found one pen that was a craft table and had plans with it for building. Marco always tells the kids if you want something bring me some plans and we can build it. Perfect! I see a craft table in our future.
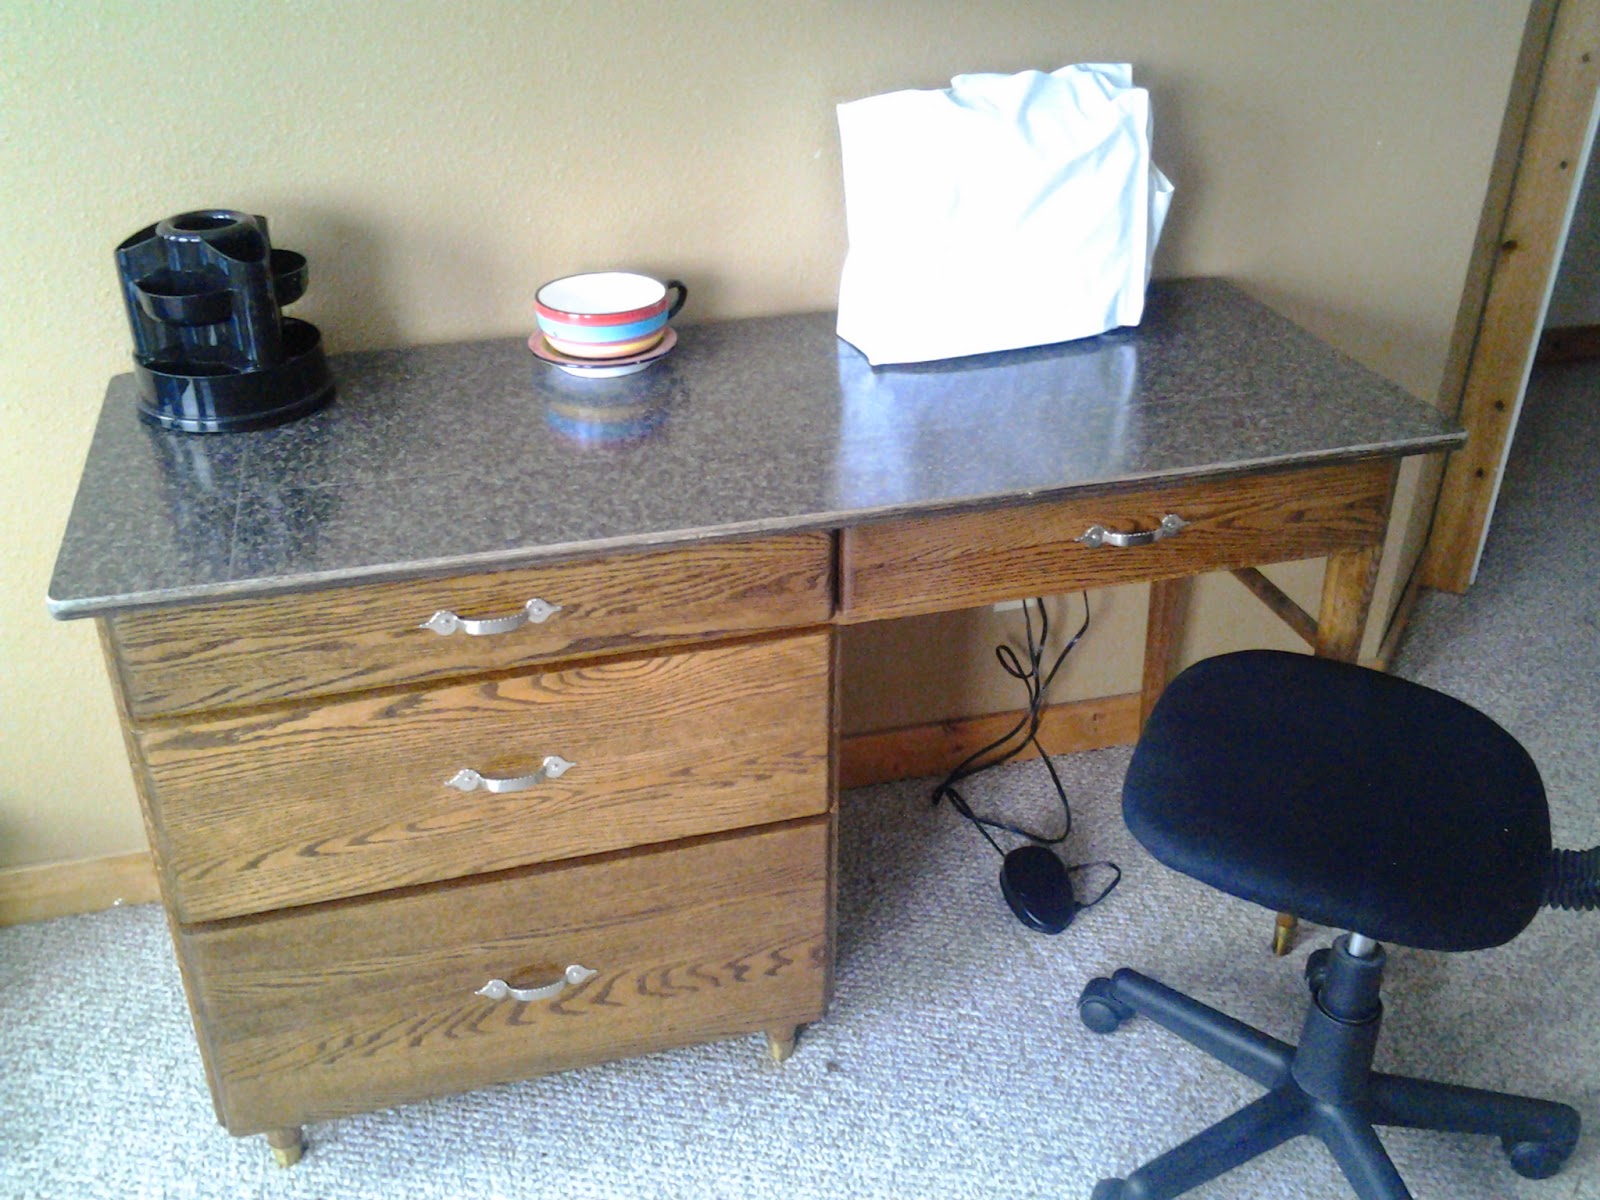
The first thing I did was go shopping with the truck. I needed to find some items discounted. So I went too the Restore (Habitat for Humanity), Salvation Army, Flathead industries thrift store and Goodwill. At the Restore I found an old hotel desk that I could refinish, put a new top on and some pull handles for the drawers. At Goodwill I found a dresser that I thought would look cute under the bay windows for storage. It has cute detail in the drawer faces. I just need to refinish it. At the Salvation Army I found a huge piece of plywood that would be the perfect measurements for the craft table top. I got this for $5. That will save me about $60. Now I'm headed to Lowes to pick up the rest of the wood for the craft table, the laminate top, stain, and varnish. The laminate top was a lot more expensive than I thought it was going to be but I believe one sheet will cover both the craft table and the desk. My truck is full. Time to go home with my treasures and get to work.
After all of the sanding, staining and varnishing, I ended up with some good looking furniture. Mark and I built the bookshelf ends for the craft table. Then he put the edges on the top and we I got on top and rolled out the air bubbles with a rolling pin. We brought it all up to the room and then Mark installed the electric outlets to the top of the table. That will work out great for glue guns and soldering. It will be nice having them right there. I found them in black to match at Lowes.
All pieces are now in the room and look great. I will do some organizing and bring all of my goods up into the room but the building is done!
What do you think of our progress and the finished products?

Building the book shelves (the bottom of the craft table)

The bookend after applying a walnut colored stain and 3 coats of varnish

Edges were added to the top

Applying and cutting the laminate top


Mark with the power tools

The electric outlets were installed under the table

Black outlet and covers to match the laminate

I bought the chairs online from Kohl's

nice sewing table. Nothing fancy.

Stained it all with the walnut varnish to match
and varnished it and the drawers


I found this dresser at the Good Will for $29. I love the detail in the drawers.

Espresso stain for the top and bottom and some varnish.
I painted the drawers and the detail. I love how it turned out.

I found a post on Pinterest for a thread and
bobbin rack so I made myself one.

No comments:
Post a Comment